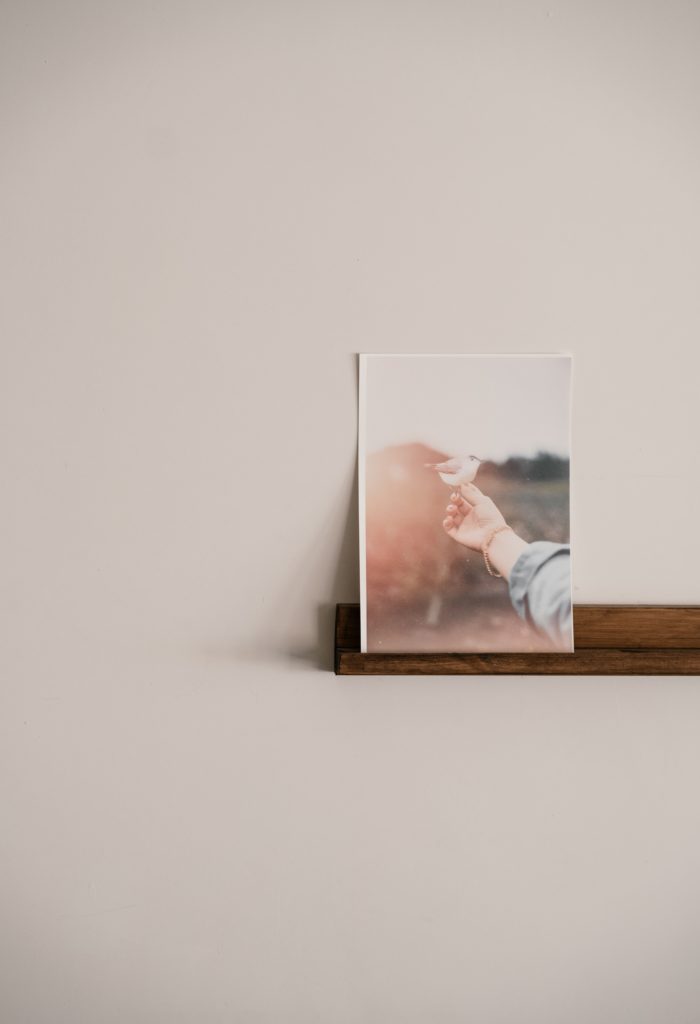
I always share that the most important aspect of photos is printing them and hanging them up or having a collection of keepsake albums. I want to share some of the valuable insight I have learned about this as a photographer
As my business grows and progresses and I have grown and learned as a photographer and a mom I have made some adjustments and improvements to how I help people to get prints of their own!
Printing photos is somewhat of an anomaly these days- which is sad. People understand the investment in quality photos now more than ever- even with access to so many ways to photo-document themselves.
No one is going to reminisce over a dusty old USB full of photos- especially when 10 years from now the technology will probably be so outdated that no-one will be able to access files from them! (If you think I’m crazy just think about all those CD’s you have pictures on. Most people would have to borrow a CD-ROM player to connect to their computer to even access them.
Long story short the best way to help your photos outlast the test of time and tech is by printing them.
I have and will continue to provide full gallery access to all High-Resolution images that I delivery to my clients. I want to give people what I would want, and that is what I would want!
Some people may not be familiar with different photographers methods so here’s a mini explaination:
Some photographers share their printing rights with their clients like I do. May others believe printing rights should only be held by the photographer and all images must be purchased directly through them.
On the other hand, some photographers prefer to let the client make ALL printing decisions for themselves. This is how I use to be. I didn’t want to make people feel like I took all of these great pictures for them and now they had to pay me AGAIN to access them. I took for granted the knowledge I have and didn’t realize people often want help and guidance making their printing decisions for the images they have invested so much in.

Now I’ve come to a happy medium where I feel I can offer the best of both worlds. Let me explain:
I can definitely see where other photographers are coming from. Those who don’t want to give ANY printing rights to their clients because it could reflect poorly on them. Here is what I mean:
When you order from a 3rd party printing lab (even if it’s a professional lab) and your images are not optimized or calibrated to that specific labs printers the images printed will be a variation of the original image intended by your photographer. The color can vary and the quality can vary. A trained photographer doesn’t want a poorly printed photo to make all of the hard work they did look as if it wasn’t professionally done at all!

As the client, paying for professional photography, you probably don’t want that either. That would just feel like a waste of money! When I realized this I decided to brainstorm a solution. A solution where everyone could get what they want and need.
As a mom I know that sometimes you don’t need a professional quality image. You just want a few 4×6 prints to give to grandparents, or a small photo to add to a birthday card template you bought on Etsy. It doesn’t matter if the photos are perfect color or quality because they’re just going in a wallet, or on a fridge for a couple of weeks.
Still speaking as a mom, it bugs me to see Brightens professionally taken birth announcements that look green and dark. They look nothing like the file I got from the photographer! I had them printed at Walgreens. Not to throw Walgreens under the bus but that is not the first time they have disappointed me. The images also weren’t centered on the page correctly and the margin was a different length on all the photos. I had to go back and hand-cut the white margin off of every single one. So unless you REALLY REALLY REALLY need 1-hr photos I would stay away from Walgreens and Walmart Photo Printing Centers/Kiosks or really any Third Party Non-Professional printing shops that specialize in SPEED printing.

Here is a quick run down on three types of Printing options you have, two of which I use personally.
- Third Party Non-Professional Labs- These are labs like Walmart, Walgreens, Costco etc. Typically within a store that also provides other services. They can usually print and deliver your images in a faster time frame. My images are not calibrated or optimized to these printers and because they are non-professional they often add adjustments that might make a non-professional picture look better but may be too much for my images since I have already applied specific adjustments to each image. This can cause the image to be too dark in some areas, too light in some areas, and/or have an overall green, magenta, blue or yellow color tint to the image that was not intended. The crop could be off and print crooked. Lastly, any cropping necessary for certain sizes is done by you or automatically chosen by the facility. This could result in cropped off hands, feet, heads etc. I use ONE Non-Pro lab and that is Costco. They are the most consistent and most correct for my color tones. The images will typically print slightly more yellow than intended and I do not recommend printing anything larger than 8×10 due to the quality factors. I use Costco for 4×6 prints to give to others and for birthday and other announcements like Christmas cards.
2) A Third Party Professional Printing Lab- These are other professional printers. The image quality will be astounding! The color will be just slightly off from the image files due to the fact that my images are not optimized for their printers. You will need to download the Hi-Res files (this will slow down your computer dramatically, because of the size, so I recommend using a USB or external hard drive). You will then need to re-upload them to the Professional Lab, of your choice, according to their instruction. You will often need to email me to get a signed document stating that you have printing rights to the images, at the Labs request. Each lab has a different procedure for how they crop images for specific sizes, although most will have you do it. Because you do not have access to the original file for cropping this may decrease the quality of the image in the process (depending on how drastic the crop is). In all honesty, I don’t use other Pro printing labs personally because ordering through the one I use for my own images is so much easier, and the cost is about the same.
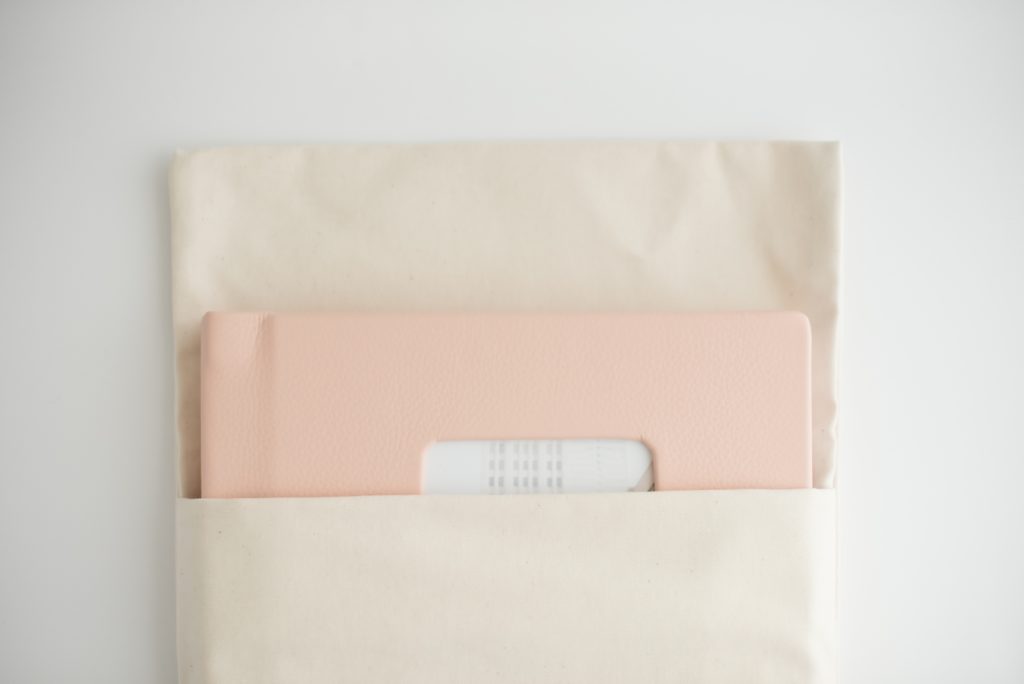
3)My Professional Lab- I am so excited to start offering this to my clients! I pay extra to have my photos optimized for these Pro Lab Printers. Although I use a different printer for my albums the same is true of them- my photos are optimized for the Album program and printers specifically. The quality will be the very best and the color will be spot on. To make it even better you can order your images directly from your gallery site or app! You don’t need to download any of the high-res images or worry about choosing the wrong options. After you place your order I will review and correct cropping and resolution choices for any given size, and make any other minor adjustments I think the image needs before printing ( this is a major bonus because I usual can’t help but make a few isolated touch ups to make it absolutely perfect for you and this typically comes with a fee if requested by my clients so SCORE). I do this for every single order placed through my gallery- every time! Prints are then shipped directly to you! This is your best option for getting timeless, valuable images for your home that will last a lifetime. As an additional bonus: if you would like the image in black and white I will produce a black and white version of the image free of charge for any images ordered through your Gallery Shop directly. (In any other scenario this typically adds a $35-$50 retouch fee per image as well so SCORE again!).
Moving onto size:
Another question that I often get is:
What size do I need?
Something that I’ve learned for my house is pick a size, then size up. Haha. I always expect it bigger than it is. I think it’s because when we imagine a certain size we are imagining the subject in that size when in reality it is the entire picture all the border, background etc.
For Album sizing specifically, I would say I still follow the general rule of “pick a size and then size up” to really give each spread that ‘WOW’-factor.
Everyone has their own personal style and opinions on how they decorate their home but here are a few tips that I use personally when I’m printing photos for around the house.
If it is a full-body shot of 1-2 people or a group of people 3 or more I don’t go any less than 8×10. You want to see the background and the pose and all that but the most important part of a portrait image is a persons face. In a 8×10 image showing someones entire body their face(s) is/are only going to be 1-2 inches. Any smaller than that and you’re going to loose the connection with the image when you look at it, in my opinion.
Another tip for ordering images is if you want an image to look bigger and have more impact choose an image that is already “zoomed in”. If you get a photo of your family featuring the desert and mountains you will need to get a bigger size for it to not look “funny” vs. a photo of your family waist up all smiling.
Placement of your photos in your house is also a big factor in what size you should order. Think of where you want to put it. Maybe it’s above your couch. Measure the wall with a tape measure. I like to have either matching galleries or larger statement photos. I suggest this for people who live in a smaller space. You might think that if you live in a smaller space that you should get the smallest photos you can and that is actually not true.
Bringing attention to the space you do have and also decreasing visual variety and texture by having one big image or one matching gallery instead of 4 images, 2 shelves, and 3 cool things you found at Hobby Lobby can make your space look bigger (One day I will be able to put all that stuff on our walls when we have a big house, that is what makes big houses look cozy and inviting)!
Lastly, photographer language can get a little confusing just like any industry you’re not constantly submerged in. Don’t feel bad if you don’t know all the terms in album building and ordering prints. I try to be as aware as I can of this and explain what everything is but sometimes I forget it’s not something people talk about and do everyday like I do so I can get a little ahead of myself and confuse you. Don’t hesitate to ask for an explaination! <3
Here are the basic print options I have available on your gallery shop:
1)Prints: standard photo prints on photo paper. If you want a glass covered frame these are the prints you’re looking for.
2)Mounted Prints: These are prints mounted on a, thin but stable, raised backing that adds sturdiness to the print(but still allows it to fit in most standard frames). This option is great if you are purchasing (or maybe even making) a custom frame for your image. The sturdy backing allows you to frame these images without glass.
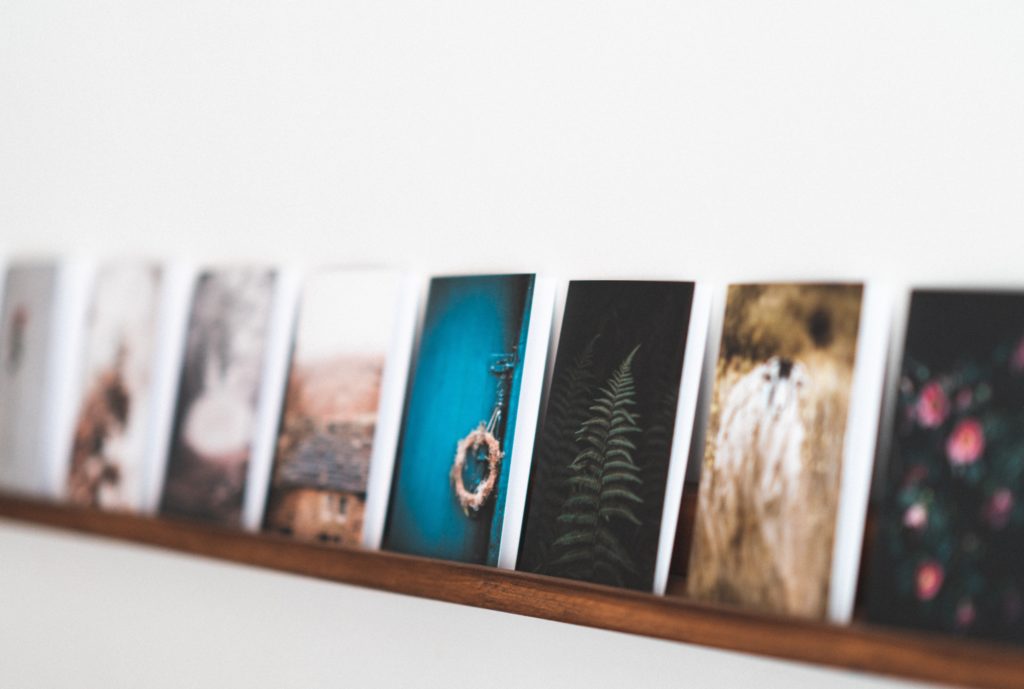
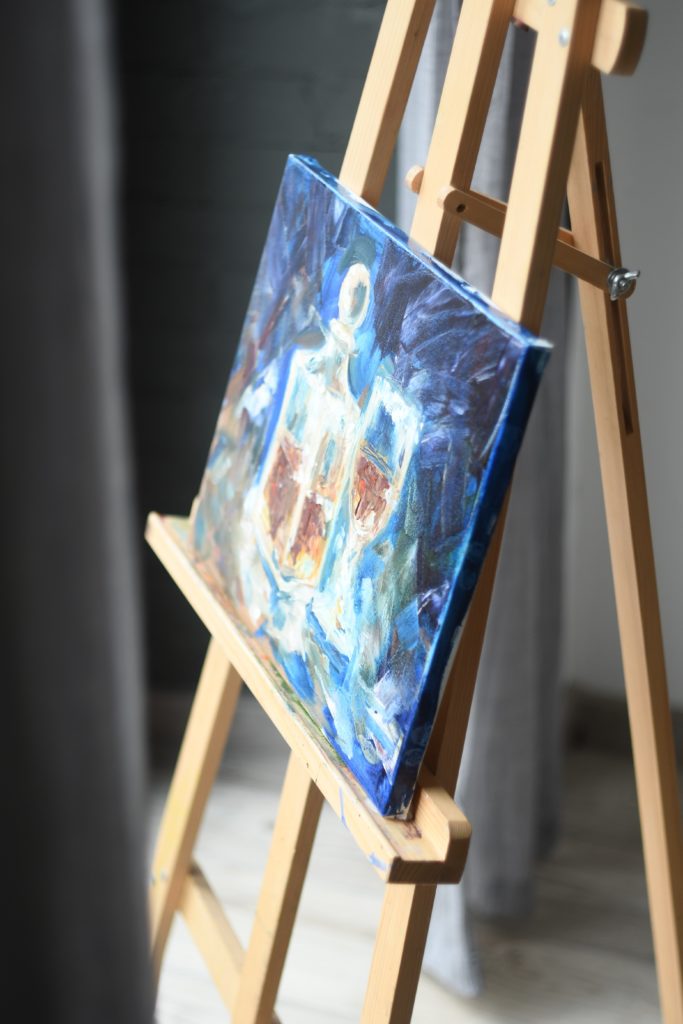
3) Gallery Wraps: These are often called ‘canvas’s’ or ‘canvas prints’. It is a print of an image on canvas, which is then wrapped around an internal frame. This is a great option if you want the image to have more dimension and depth itself and not need a frame. The sides of the image quite literally wrap around the edge of the canvas frame. They are very similar to the mounted canvas’s that painters use.
Now that you know almost all there is to know about prints are you ready to hear about albums? Let me know in the comments if you think I should do a specific post explaining Legacy Album options.


leave a comment